Nissan Sentra Service Manual: Basic inspection
Diagnosis and repair workflow
Work flow
Overall sequence
Detailed flow
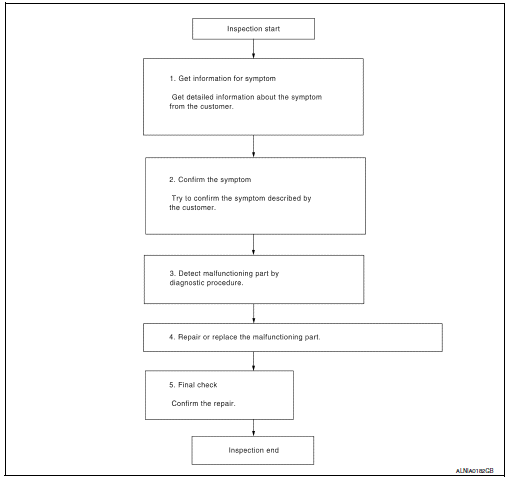
1.Get information for symptom
Get detailed information from the customer about the symptom (the condition and the environment when the incident/malfunction occurred).
>> Go to 2
2.Confirm the symptom
Try to confirm the symptom described by the customer. Verify relation between the symptom and the condition when the symptom is detected.
>> GO TO 3
3.Detect malfunctioning part by diagnostic procedure
Inspect according to diagnostic procedure of the system.
Is malfunctioning part detected? YES >> GO TO 4
No >> go to 2
4.Repair or replace the malfunctioning part
- Repair or replace the malfunctioning part.
- Reconnect parts or connectors disconnected during diagnostic procedure.
>> GO TO 5
5.Final check
Refer to confirmed symptom in step 2, and make sure that the symptom is not detected.
Was the repair confirmed? Yes >> inspection end.
No >> go to 2
 Wiring diagram
Display audio with bose
Wiring diagram
...
 Dtc/circuit diagnosis
Power supply and ground circuit
Audio unit
Audio unit : diagnosis procedure
Regarding Wiring Diagram information, refer to AV-157, "Wiring Diagram".
1.Check fuse
Are the fuses blown?
...
Other materials:
Engine assembly CVT
CVT : Exploded View
Washer
Upper torque rod (RH)
Engine mounting insulator (RH)
Engine mounting insulator (LH)
Rear torque rod bracket
Rear torque rod
CVT : Removal and Installation
WARNING:
Situate the vehicle on a flat and solid surface.
Place chocks at front and back o ...
Precaution for Supplemental Restraint System
(SRS) "AIR BAG" and "SEAT BELT PRE-TENSIONER"
The Supplemental Restraint System such as “AIR BAG” and “SEAT BELT PRE-TENSIONER”,
used along
with a front seat belt, helps to reduce the risk or severity of injury to the
driver and front passenger for certain
types of collision. Information necessary to service the system ...
Removal and installation
EXHAUST SYSTEM
Exploded View
Sub muffler
Spring
Mounting rubber
Seal bearing
Catalyst shroud (upper)
Seal bearing
Exhaust front tube
Spring
Catalyst shroud (lower)
Clamp
Heated oxygen sensor 2
Ring gasket
Mounting rubber
Main muffler
Exhaust finisher (if equipped ...
