
Nissan Sentra Service Manual: Spark plug
Exploded View
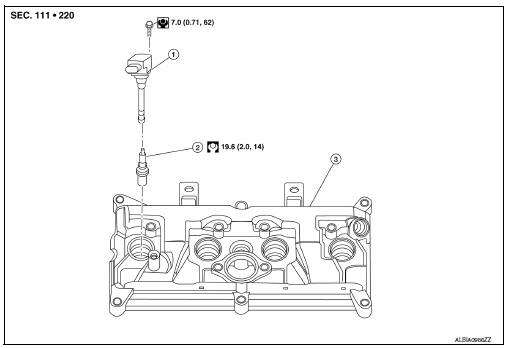
- Ignition coil
- Spark plug
- Rocker cover
Removal and Installation
REMOVAL
- Remove engine cover. Refer to EM-24, "Exploded View".
- Remove ignition coil. Refer to EM-46, "Exploded View".
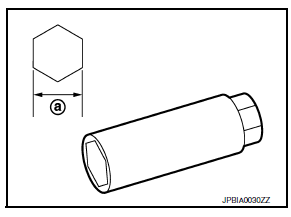
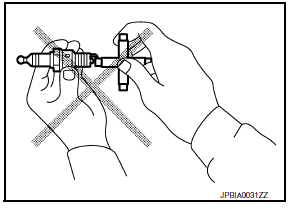
- Remove spark plug using suitable tool.
(a) : 14 mm (0.55 in)
CAUTION:
Do not drop or shock spark plug.
INSTALLATION
Installation is in the reverse order of removal.

*: Always check with the Parts Department for the latest parts information.
CAUTION:
Always tighten the spark plug to specified torque to align the orientation of electrodes. The ground electrode of a genuine spark plug is positioned in the area of maximum ignitability by tightening to the specified torque. When replacing spark plugs, use genuine spark plugs of which the ground electrode is adjusted.
NOTE:
The ground electrode of the spark plug is positioned in the area of maximum ignitability to improve combustion efficiency in the cylinder, reduce CO2 (carbon dioxide) emission and improve fuel economy.
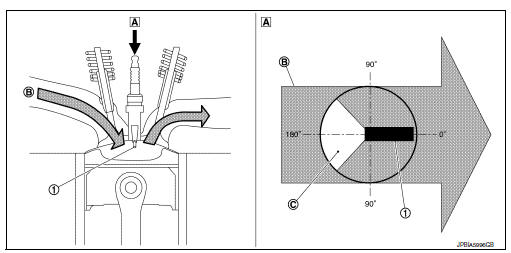
- Ground electrode of spark plug
- Top view
- Air-fuel mixture flow
- Poor ignitability region
Inspection
INSPECTION AFTER REMOVAL
Use the standard type spark plug for normal condition.
Spark plug (Standard type) : Refer to EM-118, "Spark Plug".
CAUTION:
- Do not drop or shock spark plug.
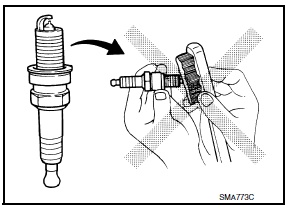
- Do not use a wire brush for cleaning.
- If plug tip is covered with carbon, spark plug cleaner may be used.
Cleaner air pressure : Less than 588 kPa (6 kg/cm2, 85 psi)
Cleaning time : Less than 20 seconds
- Spark plug gap adjustment is not required between replacement intervals.
- Measure spark plug gap. when it exceeds the limit, replace
spark plug even if it is with in the specified replacement mileage.
Refer to EM-118, "Spark Plug".

 Drive belt
Exploded View
Alternator
Drive belt auto-tensioner
Crankshaft pulley
A/C compressor
Water pump
Drive belt
Possible use range
New drive belt range
Indicator
Removal and ...
Other materials:
ID registration cannot be completed
Diagnosis Procedure
NOTE:
The Signal Tech II Tool (J-50190) can be used to perform the following
functions. Refer to the Signal Tech II
User Guide for additional information.
Activate and display TPMS transmitter IDs
Display tire pressure reported by the TPMS transmitter
Read TPMS DTCs
...
Blower motor
Exploded View
Heating and cooling unit assembly
Blower motor
Front
Removal and Installation
Remove the glove box assembly. Refer to IP-22, "Removal and
Installation".
Disconnect the harness connector from the blower motor.
Remove the blower motor screws.
Remove ...
Moonroof switch
Removal and installation
REMOVAL
Remove the map lamp. Refer to INL-52, "Removal and Installation".
Release the pawls and remove the moonroof switch finisher (1).
: Pawl
Release the pawls and remove the moonroof switch (2).
: Pawl
INSTALLATION
Installation is in the ...
