
Nissan Sentra Service Manual: Control Units and Electrical Parts
PRECAUTIONS
- Never reverse polarity of battery terminals.
- Install only parts specified for a vehicle.
- Before replacing the control unit, check the input and output and functions of the component parts.
- Do not apply excessive force when disconnecting a connector.
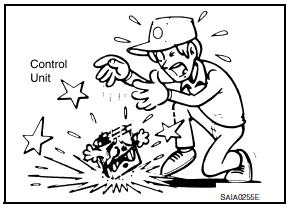
- Do not apply excessive shock to the control unit by dropping or hitting it.
- Be careful to prevent condensation in the control unit due to rapid temperature changes and do not let water or rain get on it. If water is found in the control unit, dry it fully and then install it in the vehicle.
- Be careful not to let oil to get on the control unit connector.
- Avoid cleaning the control unit with volatile oil.
- Do not disassemble the control unit, and do not remove the upper and lower covers.
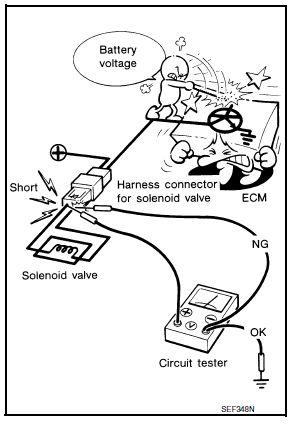
- When using a DMM, be careful not to let test probes get close to each other to prevent the power transistor in the control unit from damaging battery voltage because of short circuiting.
- When checking input and output signals of the control unit, use the specified check adapter.
 Work Flow
STEP
DESCRIPTION
STEP 1
Get detailed information about the conditions and the
environment when the incident occurred.
The following are key pieces of information requi ...
 How to Check Terminal
CONNECTOR AND TERMINAL PIN KIT
Use the connector and terminal pin kits listed below when replacing
connectors or terminals.
The connector and terminal pin kits contain some of the most common ...
Other materials:
Power steering
WARNING
If the engine is not running or is turned
off while driving, the power assist for
the steering will not work. Steering will
be harder to operate.
When the power steering warning light
illuminates with the engine running,
there will be no power assist for th ...
Vehicle information
Identification information
Model Variation
Identification Number
Vehicle identification number (VIN)
plate
Vehicle identification number
(chassis number)
Emission control information label
Air Conditioner specification label
F.M.V.S.S./C.M.V.S.S. certificat ...
P0743 Torque converter
DTC Logic
DTC DETECTION LOGIC
DTC
CONSULT screen terms
(Trouble diagnosis content)
DTC detection condition
Possible causes
P0743
TORQUE CONVERTER
(Torque Converter Clutch Circuit
Electrical)
The TCM torque converter clutch solenoid
valve current monitor ...
